There are many guides online that provide in-depth information on how to remove tile. You’ll soon realize that thin-set removal requires the correct tools and equipment. The necessary technology to remove thinset dust free is out of reach for most homeowners. So if you are looking for a dust free experience contact us about our patented DustRam® System Equipment.
What are the Differences Dust Free vs. Traditional Tile Removal
First… You’ll Have to Remove the Old Wall or Floor Tile
The old wall or floor tile must be removed, which usually requires preparing the site for the inevitable dust that is created during removal, as well as cleaning up everything afterward. The removal of the ceramic tile and underlying thinset itself can take a great deal of effort as well if you are not using the proper tools.
Old tiles can be removed in several ways. Though the method for installation is fairly simple, in reality, there is no telling how the area was prepped or what exact materials were used unless you did the initial installation yourself. Therefore, each tile, grout, and thin set removal job can be a bit unique.
Next, Follow these Steps When Removing Thinset from Concrete

Using a Chisel or Hammer to Remove the Tile
First, to remove the tile, try popping it off with a hammer and chisel or similar tile removal tools. This is the best way to preserve both the tiles and the surface underneath. Unfortunately, this does not always work. If the tiles are too strongly bonded they may need to be broken up and pried off. This is often the case with floor tiles that are attached to concrete with thinset mortar.

Tile Secured to Concrete with Thinset and Grout
To remove tiles that are secured to concrete with thinset and grout, a sledgehammer, angle grinder, or similar tile removal equipment can be used for concrete grinding but if speed and ease are desired then an electric chipping hammer is highly recommended to tackle a concrete floor or wall. This tool can push through the thinset and even start taking some of it up with the tile.

Dust Creation During the Tile Removal Process
This process will inevitably create some amount of dust due to the power and fast tool action involved. While you can deal with most of this dust by laying down plastic first and sweeping up afterward, there is a significant amount of dust that will be airborne and find its way into all of the cracks and crevices of your room. It may even get into the HVAC system and circulate around the home.

THINSET REMOVAL
After the tile has been removed the tough part is really the thinset removal. While it is possible to avoid adhesive removal from tile that has been installed over drywall by simply cutting out and replacing the drywall (among other methods), there is no way to avoid having to remove thinset. This adhesive is usually used over permanent subfloor—typically concrete—which cannot just be taken out and replaced. Much time and effort has, therefore, been spent in determining the best way to go about the removal process.
Two Ways to Remove Thinset From Tile
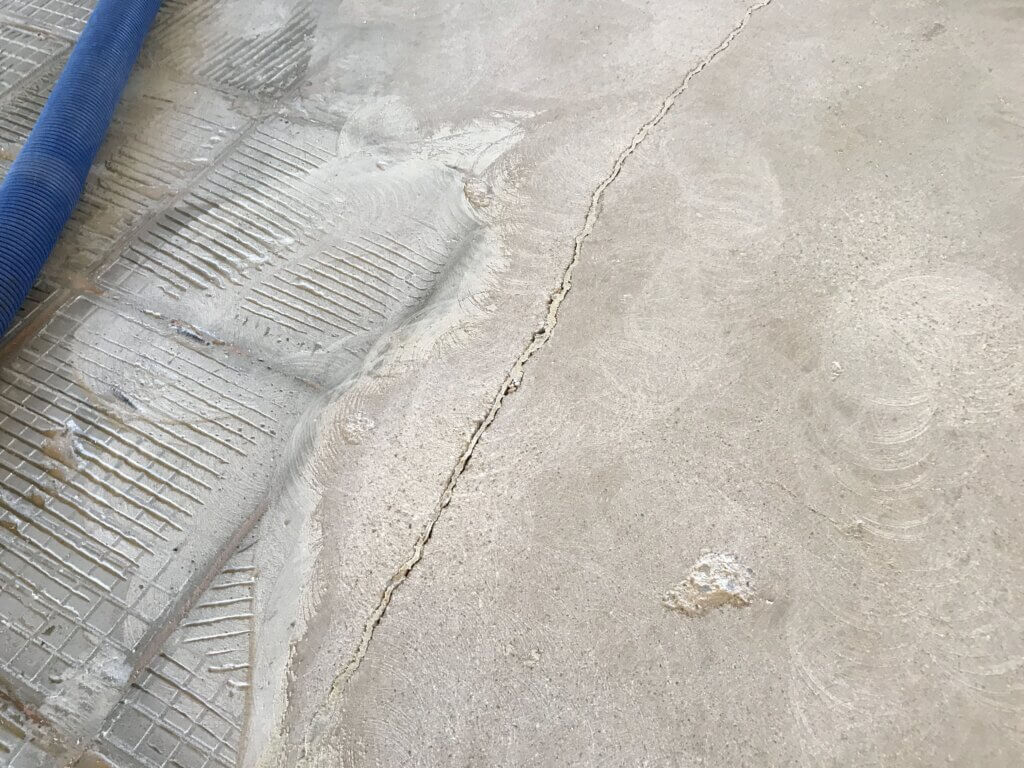
Scraping Thinset
Electric chipping hammers with a chisel or electric hammer drills with long and wide blades are the tools of choice for scraping up thinset. If the thinset is bonded too strongly to the concrete, though, then a grinder with a diamond face is the more reliable option. The problem with grinding is that it puts a lot more dust into the air than scraping.
There are a few methods that can be used to deal with the dust that tile and thinset removal create besides just prepping and sweeping afterward. One popular choice is to introduce moisture to the environment. By wetting the surface down the dust is kept mostly under control. When using a scraping method this entails soaking the floor with water and letting it sit overnight before trying to get it up. This may have mixed results depending on what kind of thinset was used.
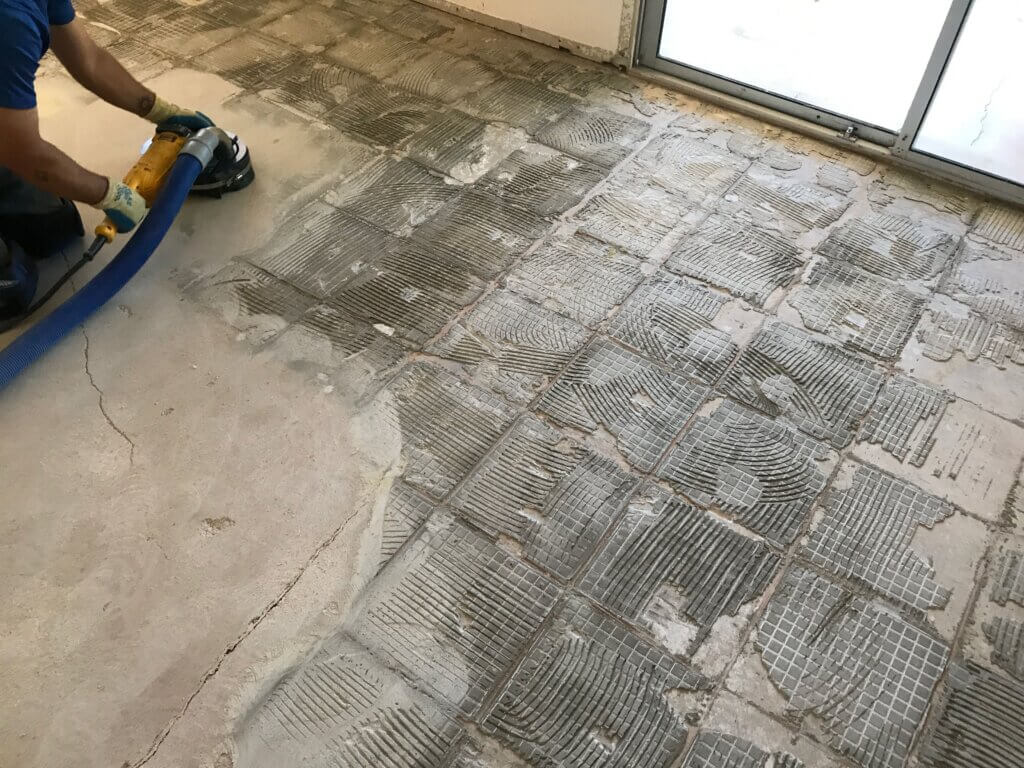
Grinding the Thinset
For those who prefer to use a grinder, there are special wet grinders that moisten the area as it is being worked on. Dust is therefore mixed with water as soon as it is created and does not become airborne. The major downside to using a wet removal method is that it adds several days to the project since you must wait for the area to completely dry before the new tile can be installed. The other way to handle thinset dust is by using a vacuum while working. There are several vacuum attachments out there for both electric chipping hammers and grinders, but the only one that can actually make your job dust free is the DustRam®.
The DustRam®chipping hammer attachment encases the hammer and sucks up all dust from both the area immediately around the chisel as well as ambient dust that is created over a foot away. There is also a full DustRam® system that includes skirts for grinders. While the attached vacuum immediately removes most of the dust as it is created at the grinding surface, the skirts contain any errant particles that might have otherwise escaped out the sides.
DustRam® System Allows for Quick and Easy Tile Removal
When using the DustRam® system with the power tool of your choice, thinset not only can be removed quickly and easily, but the cleanup is also done right on the spot. Since DustRam® makes the process dust-free, you do not even need to do any prep work to protect your surfaces and vents before starting to work.
If you are using a scraping method to remove your thinset then there will still be a bit of rubble to sweep up when you are done. It is also a bit more physically demanding to use a chipping hammer than a grinder since you have to firmly handle the tool and apply constant pressure to the work area. If you want to remove your thinset in the easiest way possible, use a grinder with the DustRam® system so the work and cleanup are all done simultaneously with the least amount of physical effort.
Ready for a dust free thinset removal? Find a DustRam® contractor in a city near you.
Learn More
Learn More
Learn More